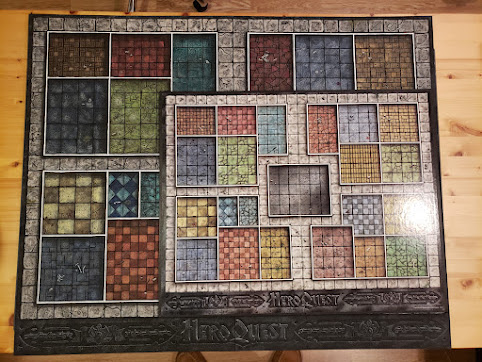
A few years ago I 3D printed and painted my own HeroQuest board.
My print features larger squares ~35mm vertical (versus ~25mm on the original) so the board never gets overly crowded.
Sketch of a How-to
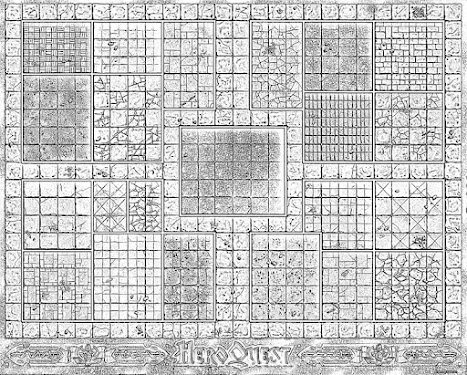
To 3D print an image you basically convert it to a grey-scale image and use the grey value as a depth in your 3D geometry. That would almost work here, except the board would have deep pits where the shadows are (top right corner of every room) and the darker rooms would be deeper than the brighter colored rooms and we can do better than that. I do not recall the filters, but my notes suggest it was a Gaussian followed by a high contrast filter (as applied in GIMP). This is what the image looked like with the shadows removed.
The image was divided into 36 "tiles" and imported into Blender where I learned how to make a mesh and apply this height field. Those initial 3D shapes were very rough and I applied several iterations of a smoothing filter in Blender to make them look nice and exported STL files (you can get the files here).
Printer Settings
I printed a few samples and settled on a fairly dense 3D print an image. I have one of the early Ender3 printers and these are the settings I used in CURA 3.4. This makes for a long slow print, and used almost two reels of Hatchbox black fillament.
Build
I super glued the tiles to two pieces of 1/4" plywood (divided where the board would normally fold) and embedded magnets in the edges such that it jumps together when remotely close to aligned.
Painting
I painted the whole board with Craftsmart paints and created my own black and black/brown washes to achieve all of the effects you see in the final product. You can always add more wash to darken things, start with bright colors and use the washes to color the recesses. Then dry brush an ivory or white on top to add the specular highlights on the board. Then do several light iterations of the wash in the top right corners to bring in the shadows. Lastly, protect your hard work with a matte varnish but be very careful not to ruin it here, test in your exact weather conditions on a different piece first!


