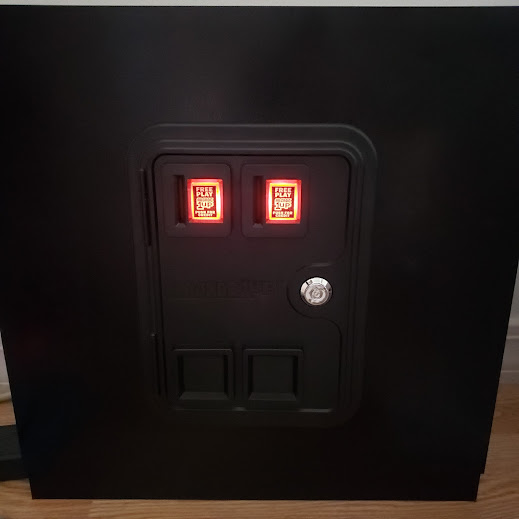
Step 1: Cutting the Holes
Remove the coin return plastic parts and replace the coin door on your panel.
Use a sharpie to trace out the rectangles and remove the panel
I don't have a drill press so I created a jig to keep my drill straight. This is just a piece of wood pre-drilled with the same bit.
I also clamp everything tightly to a scrap piece of wood to keep my holes clean (e.g. avoid tearing the back of the panel up when the drill punches through the back side).
Before drilling with the 1-1/8 inch forstner drill bit the jig looks like this.
Step 2: Mounting the Buttons
I used these white 12V LED Buttons from T-molding.com.
Speciffically I used "White LED Pushbutton - Black Bezel" found here here.
They say they mount in a 1 - 1/8 hole. But they are quite a bit smaller and at first I was disappointed. However, this is actually a VERY good thing for this application as you will see in a moment.
Then loosely attach the buttons in the rear and re-mount the coin door with the coin return buttons sitting loosely in in place (without any screws holding them).
And this is the point where the over-sized holes helps you. shift the position of the button within the hole until the coin return button sits on top of the button nicely and returns to its proper position after a button press, firmly tighten, then reconfirm the button action of the front panel.
Step 3: Hook up your buttons
Since the coin door is far from the other buttons, I opted to just use another USB joystick encoder to keep things clean and modular.
And the power required for the LEDs I used is 12V so this works automatically with power split off from the A1Up cabinet's power supply.
Happy building and enjoy!


No comments:
Post a Comment