

Preparing the Switch
The mode switch needs to be accessible through the wood cladding. It is really nice to have a consistent look to the box, so the switch will be give a matching wooden button. And the switch will need to be mounted to the underside of the cladding.
The first step is the construction of a wooden sled and securing the switch to the sled (I used hot glue here).

Then a top layer of basswood is applied with a hole matching the intended dowel. Before and while gluing this layer in place, it should be possible to press the button using the dowel.

The Top Wood Cladding Layer
A sturdy wood cladding is achieved by gluing bass wood sheets to the outer foam shell with wood glue.
First the top wood piece is cut to a healthy oversize. The edges will be cut and sanded down flush later. I'm not a woodworker and things are not always square with the foam and warping of the wood sheets.
The top layer will have a through hole for a wood dowel button. A scrap piece of wood is glued in place to reinforce the hole for the dowel. Once the glue is dried, a an appropriate sized hole can be drilled through both pieces. And the free motion of the dowel confirmed.
Then the button case is aligned and glued to the underside of the top wood cladding piece. And finally the top piece is glued to the nook (with wood glue).

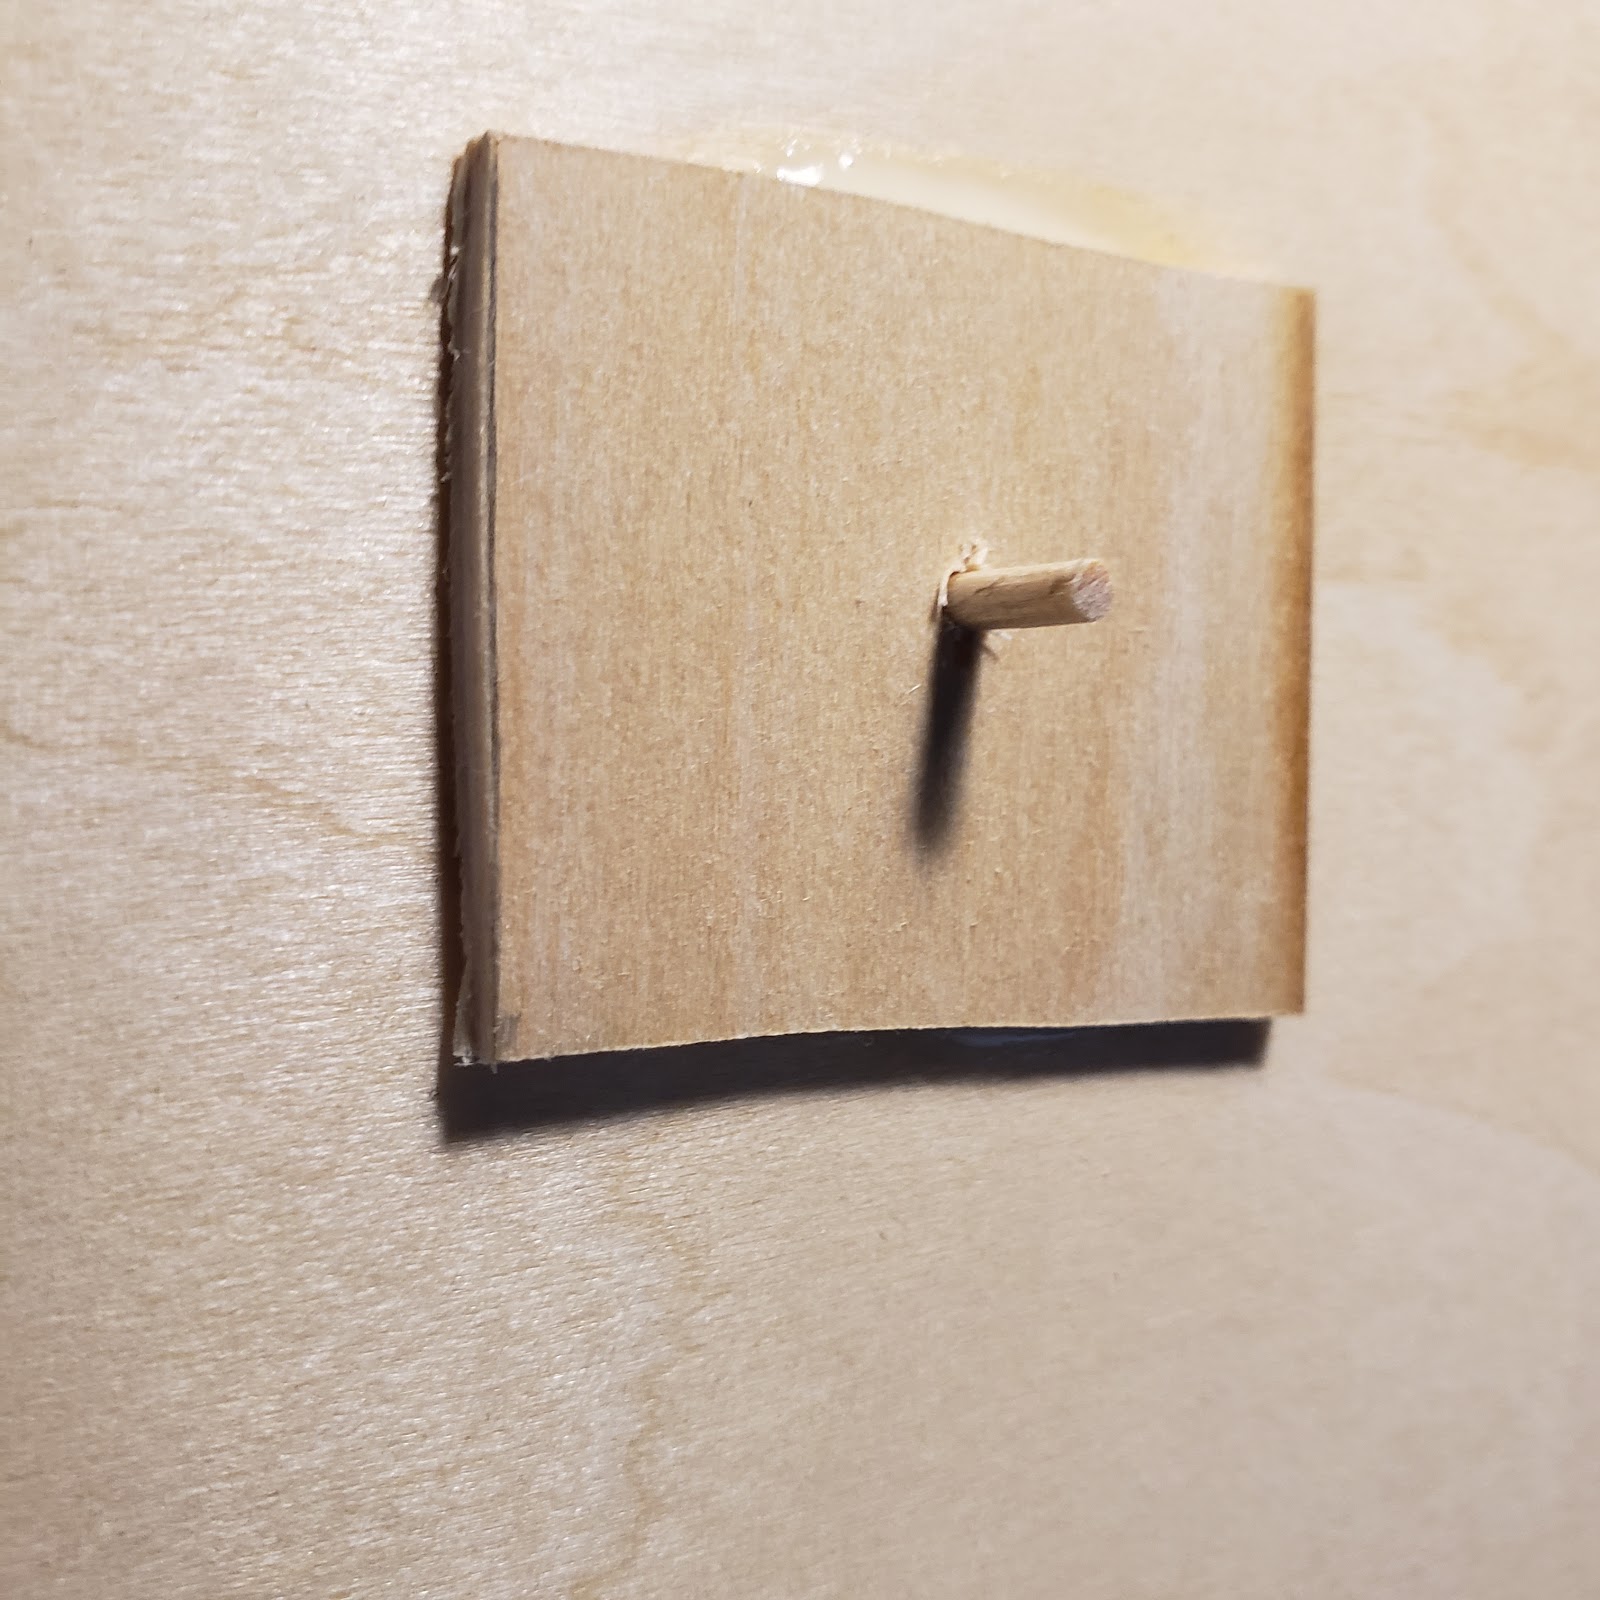
Top cladding with untrimmed dowel button.
In a finishing step, the dowel can be trimmed to size, being just a few millimeters above the wood. It is my preference to leave the dowel loose such that it may fall out if the nook is turned upside down. In another nook I created a plunger so that this was not possible. But I now prefer this simple switch construction.
Removing the dowel, flipping the nook upside down, and applying a good amount of weight (three large books) the glue for the top surface is left to dry.

Completing the Box
This process is repeated for the remaining sides

The excess wood is trimmed close, the front and back masked off, and the edges sanded flush.

Stock photo from another of my nooks (note there is no switch shown here)
No comments:
Post a Comment