Sunday, September 25, 2022

The Way Is Shut - Refactored


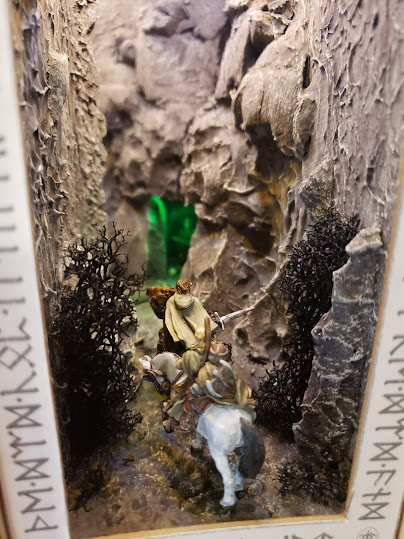
This was my first booknook. At that time, I was going to use the nooks as display and storage for some of my war game miniatures. Since that time I have changed my opinion and want the nooks to be presented without any such imperfections associated with removable figures.

"The Way Is Shut" depicts the entrance to The Paths of the Dead. It uses a mirror to appear larger (deeper and wider) on the inside like the first city alley type book nooks. A video can be found here.

The original figures stand on square bases.


I really like the Aragorn miniature and the Gimli figure is already a new addition. I searched for a replacement Legolas miniature, but I could not find a better model in a less aggressive pose. At least here Legolas has raised his bow and is drawing an arrow in response to a ghostly vision under the mountain.

The other (and more book accurate) version of this nook incorporates "The Three Hunters Mounted" from Games Workshop.

Three hunters mounted version


Three hunters mounted version

Instead I will replace the figures with the same ones without bases.

Aragorn


This model is from Dark Sword Miniatures (here - hedge knight dual wield) and required a bit of assembly (both arms). The dagger arm (left) did not fit together quite right and needed to be pinned and the gap filled with green stuff.

Legolas


This model is from Reaper Miniatures (here - Arthal Nightblade, Elf Ranger) and comes as a single piece with an integrated base. A jewelry saw was used to cut the base from the figure so that it can stand freely on the path inside the booknook.

Gimli


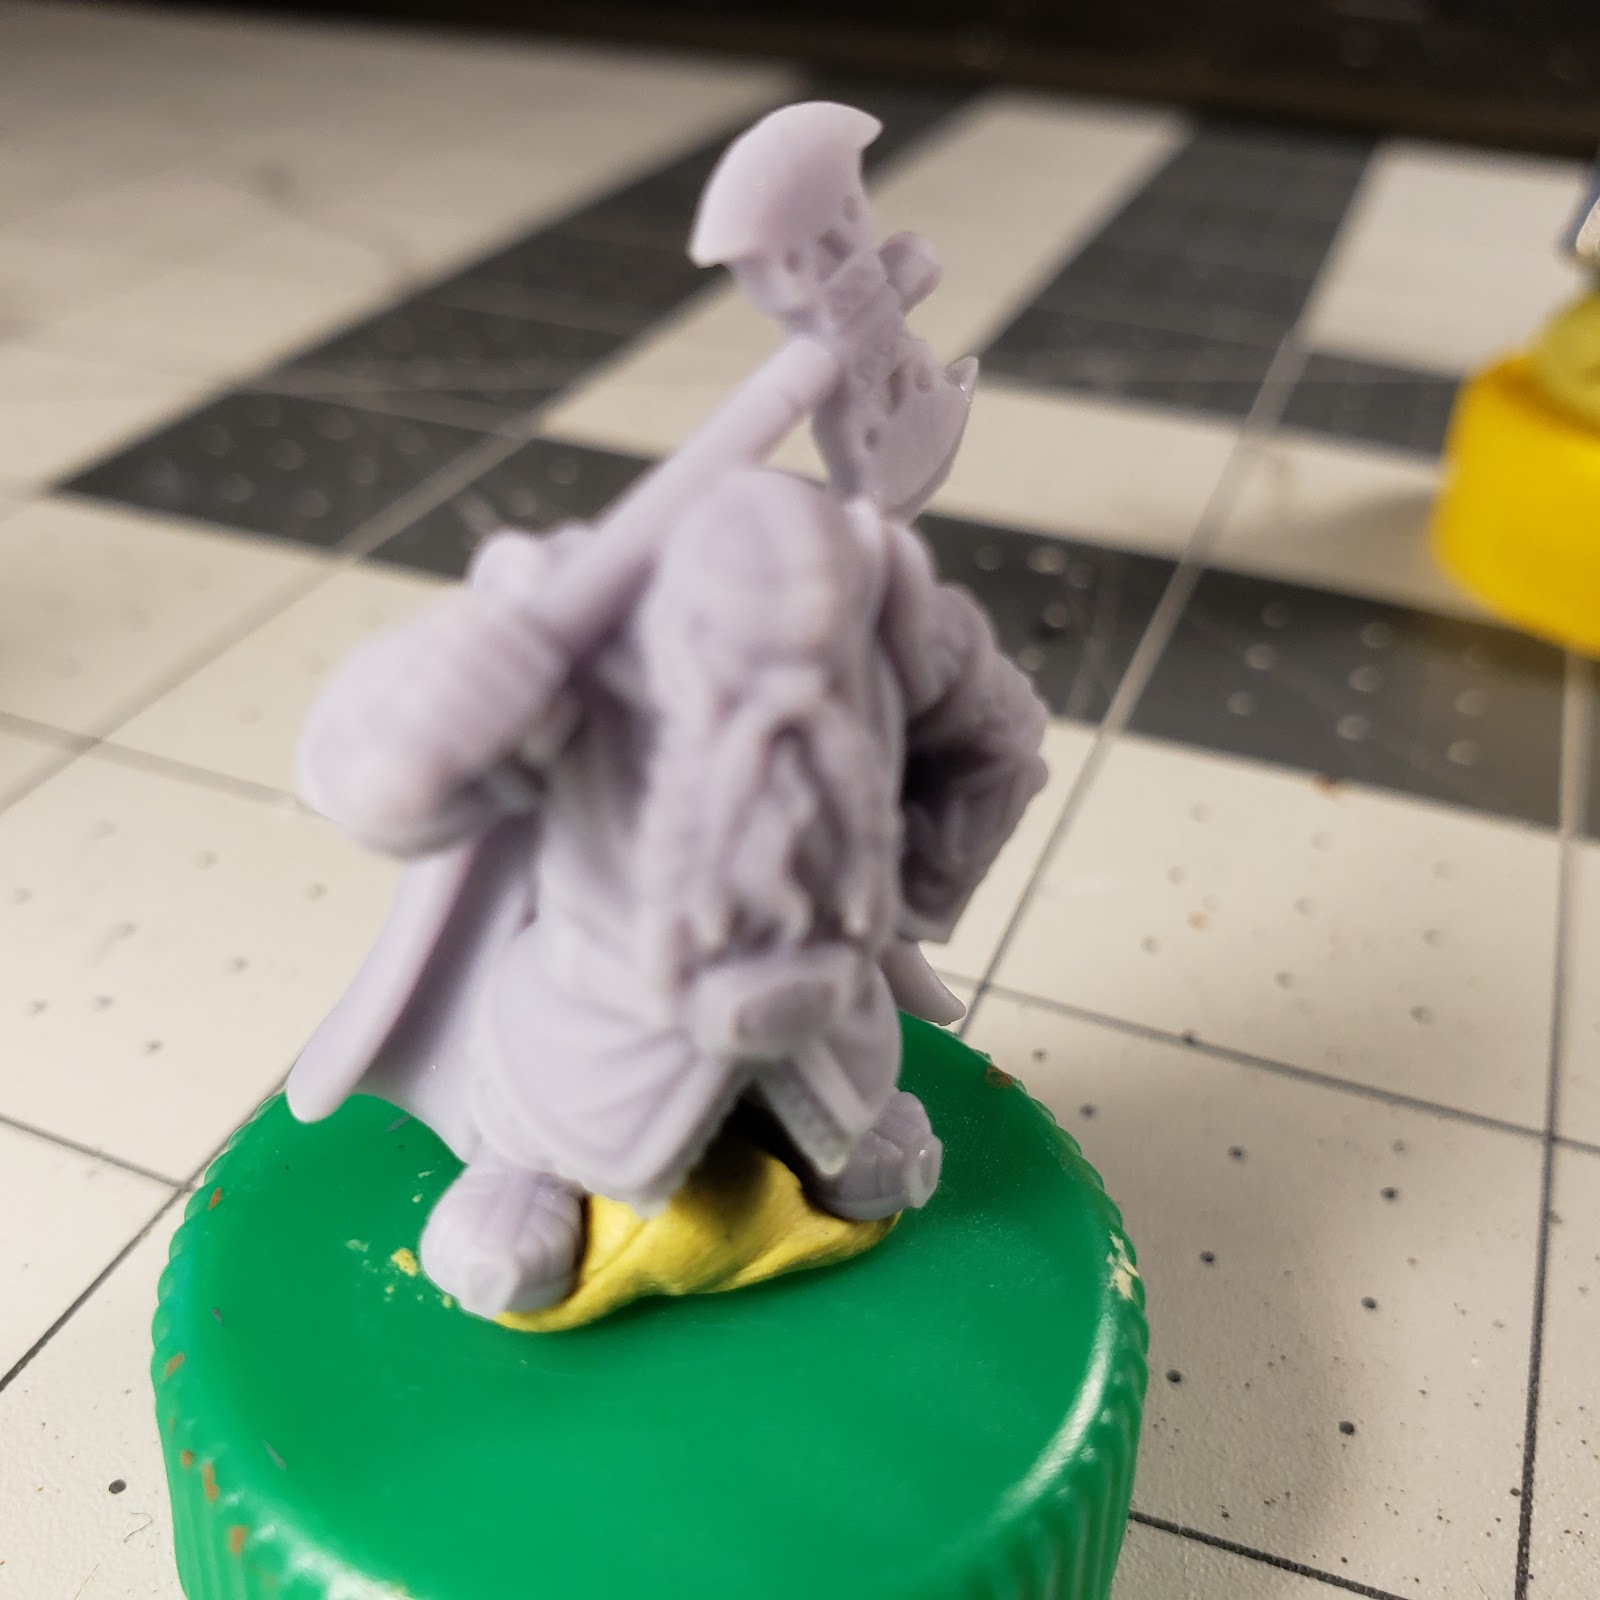
This miniature was 3D printed in resin by my neighbor. The model is Uddir Thunderaxe and can be found here.


Base Pinning


The metal figures will need to pinned inside the nook. The Aragorn figure had casting lines on the feet and were trimmed and sharpened for insertion into the foam booknook terrain. The Legolas Figure was drilled with a pin-vice (hand drill) and stiff wires inserted.

Painting and installation


The figures were painted with a common cloak color. and an emphasis on the sides which will be visible after installed in the nook.


Aragorn was installed by pressing the figure into the foam, double checking for any possible visible reflection in the mirror, and gluing down with wood glue.


Legolas was glued down in the same way, and Gimli was installed very quickly.

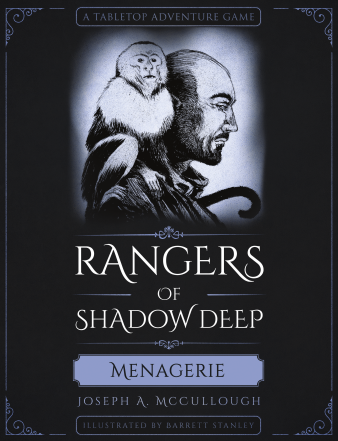
RoSD Menagerie - Animals


Getting ready for this two scenario mission. It calls for a bunch of animals I don't have and would like to assemble quickly.
  • 2 Bears
  • 1 Boar
  • 1 Monkey
  • 2 Tigers
And I found everything I needed on Thingiverse.

Bear


This bear model can be found here.

And I scaled it down to 40mm in length before printing so that it's feet nicely on a 25mm round base.

Boar


This boar model can be found here.

I scaled it to 45mm length prior to printing.

Monkey


This monkey model can be found here.

I'm not sure this is actually a "monkey" and per the cover of the mission I wanted something small and with a long tail. I scaled this to 11mm in length (tiny).  I drilled a hole where the short tail was and formed a long curling tail from some wire.

Tiger


This panther model can be found here.

I scaled it to 34mm in length prior to printing.  It fits on a rectangular cavalry type base and the fragile tail does not overhang / is well protected. It is an appropriate size for wild cats, but could be larger and more imposing foe or ally.

Bear Trap

I'm not sure I will get to use this token in these missions. But I had created and assembled it a while ago and this seemed like the right time to paint it.

In some scenarios Rangers are given the opportunity to setup a trap.  At least it will be nice if I see one of those again.

My box of GW Ogres included an arm holding this and I opted not to use it, trim off the fingers, and instead create a trap token.


Printing, Basing, and Painting


The print lines from my FDM printer look pretty bad (particularly the monkey), but these figures are so small, it just looks like fur / you do not notice on the tabletop.

The figures were primed black then white from above (zenithal highlight) and painted quickly with Army Painter Speed Paints in just a few minutes.

  • Bear and Monkey : Hardened Leather
  • Boar :
    • Body = Hardened Leather
    • Mane = Gravelord Grey
    • Tusks = Palid Bone
  • Tiger (Leopard):
    • Body = Palid Bone
    • Spots = Hardened Leather

Then Citadel Texture "Astrogranite" was added to the bases for additional texture. The bases were painted with Citadel Mechanus Standard Grey, drybrushed with a bone color, and washed with Citadel Agrax Earthshade.


Note that the panther and bear on the left were done a few years ago.


Before I can run this mission, I need to quickly build 5 prisoner type wagons (with oxen) and assemble and paint up some "Temple Guardians" which appear in this mission and many others.

Saturday, September 10, 2022

Wood Cladding - "Sam Did Not Wait" Book Nook


Cladding the Nook in wood gives it a hard and professional looking finish. 

Preparing the Switch

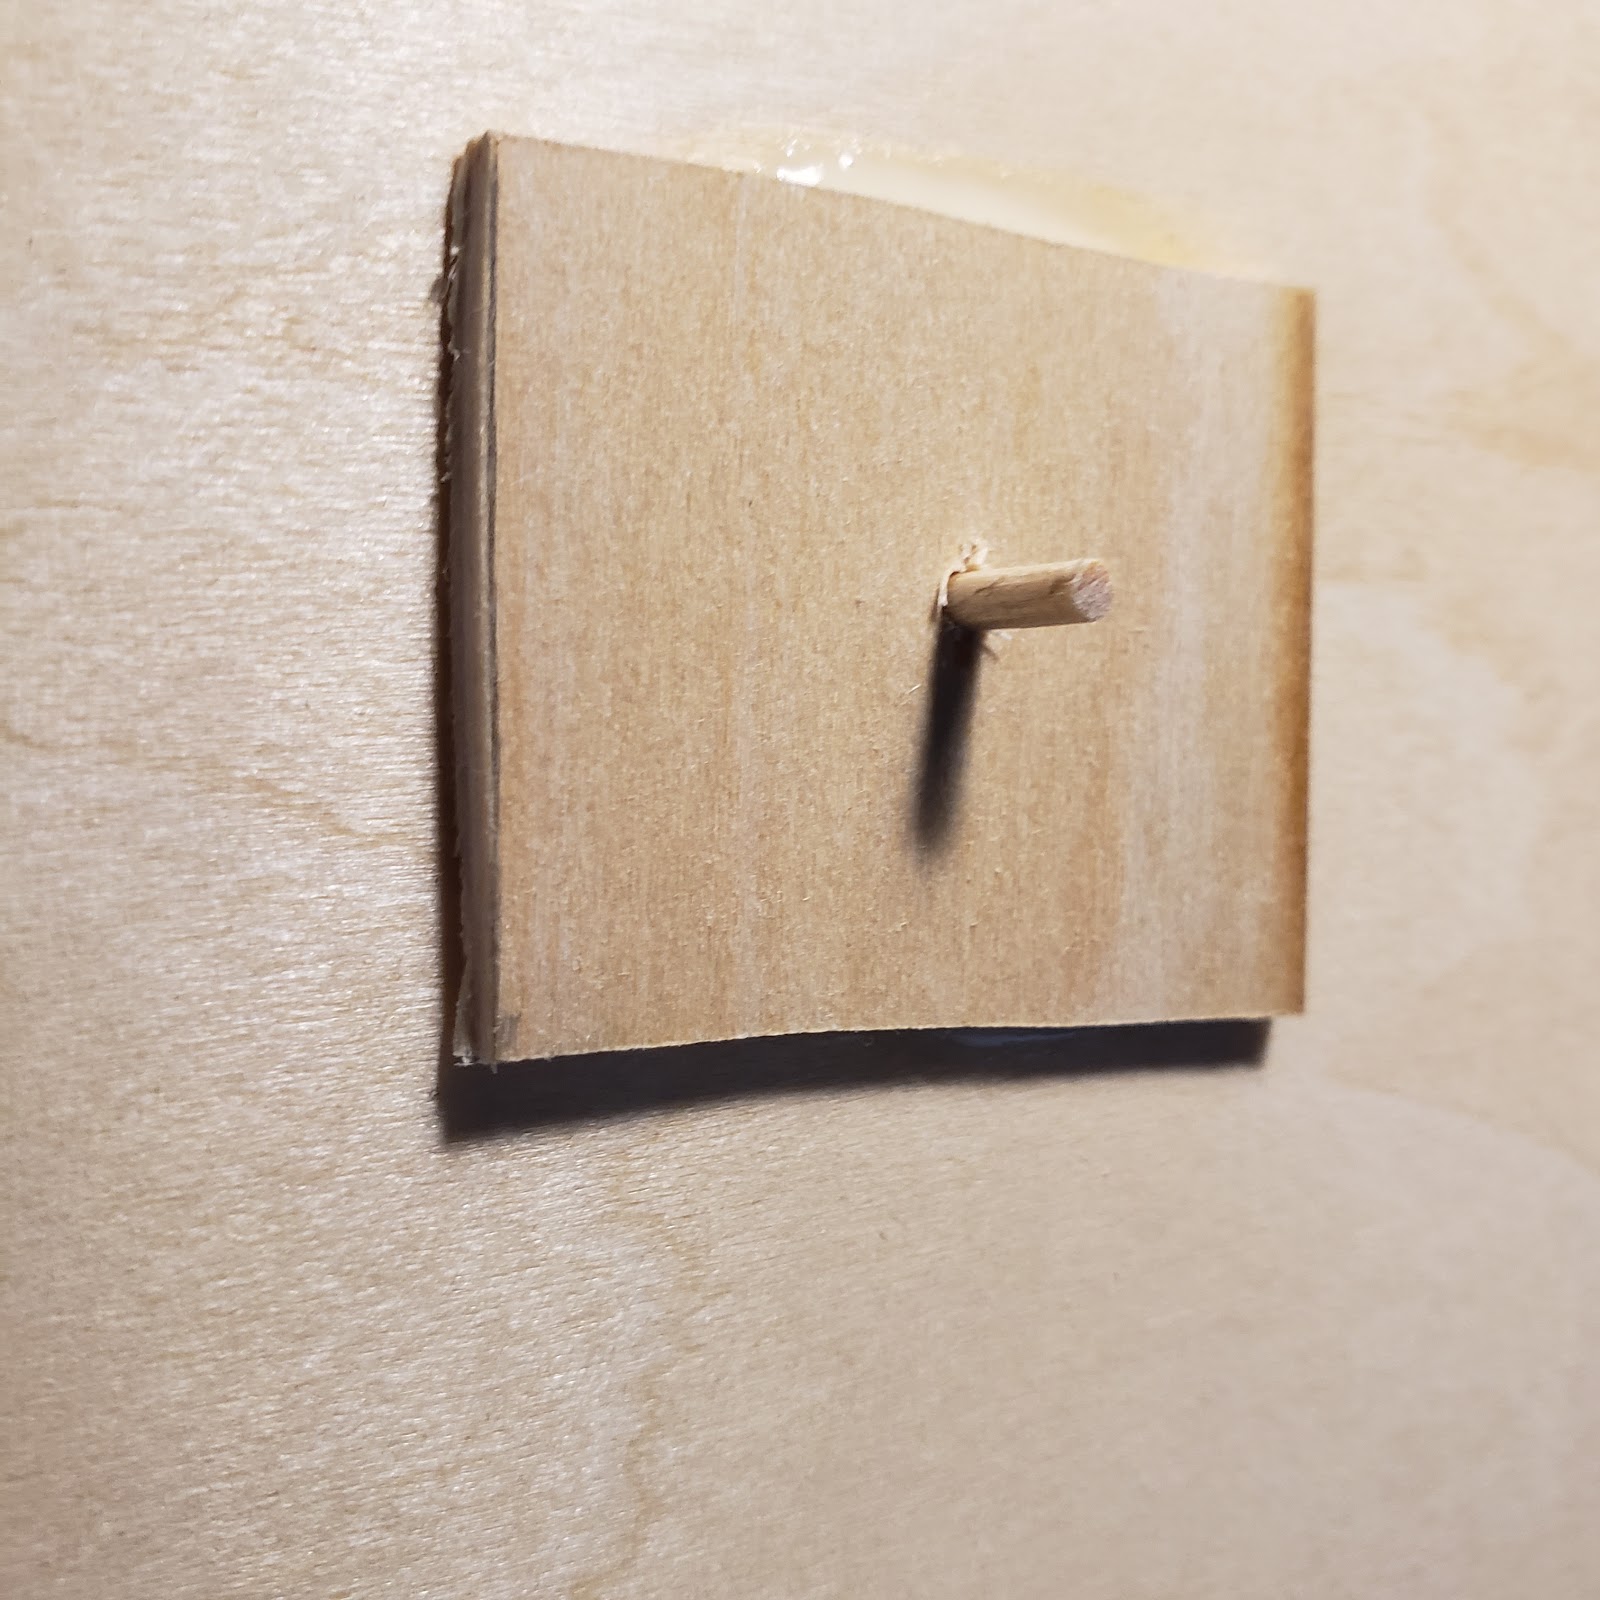
The mode switch needs to be accessible through the wood cladding.  It is really nice to have a consistent look to the box, so the switch will be give a matching wooden button. And the switch will need to be mounted to the underside of the cladding.

The first step is the construction of a wooden sled and securing the switch to the sled (I used hot glue here).


Then a top layer of basswood is applied with a hole matching the intended dowel.  Before and while gluing this layer in place, it should be possible to press the button using the dowel.


The Top Wood Cladding Layer

A sturdy wood cladding is achieved by gluing bass wood sheets to the outer foam shell with wood glue.
First the top wood piece is cut to a healthy oversize.  The edges will be cut and sanded down flush later. I'm not a woodworker and things are not always square with the foam and warping of the wood sheets.

The top layer will have a through hole for a wood dowel button. A scrap piece of wood is glued in place to reinforce the hole for the dowel.  Once the glue is dried, a an appropriate sized hole can be drilled through both pieces. And the free motion of the dowel confirmed.

Then the button case is aligned and glued to the underside of the top wood cladding piece.  And finally the top piece is glued to the nook (with wood glue).

Top cladding with untrimmed dowel button.

In a finishing step, the dowel can be trimmed to size, being just a few millimeters above the wood.  It is my preference to leave the dowel loose such that it may fall out if the nook is turned upside down.  In another nook I created a plunger so that this was not possible.  But I now prefer this simple switch construction.

Removing the dowel, flipping the nook upside down, and applying a good amount of weight (three large books) the glue for the top surface is left to dry.


Completing the Box

This process is repeated for the remaining sides


The excess wood is trimmed close, the front and back masked off, and the edges sanded flush. 

Stock photo from another of my nooks (note there is no switch shown here)


Wiring and Lighting - "Sam Did Not Wait"


After installing the lighting and wiring everything up, the Booknook is effectively done. Since this will have dynamic lighting, all LEDS are wired to an Arduino Nano ($5) and I just grabbed software from previous nooks for the Phial of Galadriel, the fire lit "window in the tower glowing red," and the mode switch logic.  Programming the Nano for dynamic effects will be covered in detail in another post.

Lighting the Tower

A pin vice (small hand drill) was used to create a window in the tower layer.  Once cut, a piece of PVA glue was attached behind it to diffuse the light from the LEDs in teh next step.


LEDs with resistors then hot glued to the backside of the tower layer with red on the sides and yellow in the middle.  These LEDs will illuminate only the sky backdrop. And in the future I may program these LEDs to give the appearance of slow eruptions from Mount Doom.

A single red and yellow LED were also glued behind the window.  This was then covered with foil to prevent the flickering window lighting pattern from also illuminating the sky behind.

I find it nice to organize circuits like this with hot glue.

Top Lights and Switch

Two large white LEDs were installed in the top front of the nook.


These LEDs were tested for position and illumination prior to final installation with hot glue.  The LEDs are installed on a foam bar raised away from a window the ceiling allowing limited illumination of the rear.  In the back of the nook, the dark form of the tower will interrupt the red sky and we don't want any white light back there.

The window for these lights was covered in parchment paper, which is attached with PVA glue (as shown in the photo).

Confirming the illumination from above does not light the back of the nook.

A push button switch was installed on the same circuit such that only three wires needed to be routed through the corner of the backdrop to the top of the nook.

Note the aluminum foil behind the stairs terrain will prevent any light from inadvertently bleeding through the terrain.  

I actually screwed this up the switch wiring and needed to connect the ground pin of my Front LEDs to the Arduino Nano.  The front LEDs are always powered and instead the Digital Output pin grounds the connection.  Since the front lights will not be dynamic and the number of PWM pins on the Nano is limited, the switch and LEDs for this circuit were powered from the 3.3V pin instead of 5V.

Final Installation of the Tower Layer

With all wires now routed, the Tower was installed and the left side of the nook permanently glued on.

The tower layer shown above has a thin substructure of bass wood.  So a channel for it was created with strips of foam. 


Then the tower was hot glued in place.

The left wall was glued on and the top made flush with foam pieces for wood cladding later.

Connecting the Arduino Nano

All of the wires were then soldered to the pins on the Arduino Nano.


This nook can now be powered directly from a USB type power supply.
 

Thursday, September 1, 2022

Samwise The Brave


The terrain is fully painted and Samwise installed in the near corner.

Terrain Painting

For this scene, the film depicts the region as dark with a green hue and there is nothing I noticed in the book to suggest otherwise.  The green hue could be achieved with light or paint and since I would like to use white LEDs for starlight in the foreground, I chose to give the scene a green wash in a final step.

The first step was to use black paint to touch-up the original sealer and to be certain that all visible spaces were covered with no pink or white foam showing.

Next I brushed on a Dark Gray craft paint which did not quite reach into all of the crevasses.  this was followed by a dry brushing of Light Gray.

Then I mixed up a wash using a few browns and a good bit of green.  These craft paints were added to water with a bit of hand soap to break the surface tension of the water during application.  the result is as shown.

The green wash stained the whole piece green


Installing Samwise

Then I glued Samwise into the empty corner and filled the cracks with PVA glue and sand.


From this angle it looks perfect

To make the paint match, I repeated the steps of sealer, black paint, Dark Gray, Light Gray and Green Wash.  This took several iterations to get right and I should have waited to wash the piece until I had everything installed.  The final wash brings everything together and I thought this would be easy considering I saved the wash and it was just a few days later.  I was wrong.

Paint match and small cut-out for the LED wire.

Wiring

The LED wires were routed on the bottom of the piece.  Now I just need to solder on the resistor and bring the wires to the back where the controller will be.

Wiring channels in the foam

Next Steps

  • Tower Silhouette installation
  • Scene lighting
  • Wood case
  • Frodo and Shelob installation
  • Momentary switch installation (variable light settings)
  • Arduino Programming